Model 에 Animation 효과 적용하기
C4D 또는 Blender 를 사용하여 Model 을 만들고 Three.js 에 렌더링할 수 있게 되었습니다.
이번 포스팅에서는 Model 에 Animation 효과를 적용하는 방법에 대해 알아보고자 합니다.
예시코드에서 사용한 Model 은 상상력을 자극하는 고퀄리티 3D 인터랙티브 웹 제작 (최인 강사님) 강좌 리소스를 사용하였습니다.
Model 의 Animation 을 적용하는 방법
Animation 은 2가지 방법으로 적용할 수 있습니다.
- 첫번쨰 방법: Model 의 position, rotation, scale 등의 값을 직접 update 하는 방법
- 두번째 방법: 3D Tool 에서 Model 에 적용한 Keyframe Animation 을 불러와서 Update 하는 방법
두가지 방법 모두 원리는 HTMLCanvasElement 를 사용한 Animation 을 적용하는 방법과 동일합니다.
첫번째 방법은 가속도와 같은 자연스러운 효과를 구현하기 어렵지만, 두번째 방법을 사용하면 3D Tool 에서 정교하게 만든 Animation 을 사용할 수 있습니다.
예시 코드
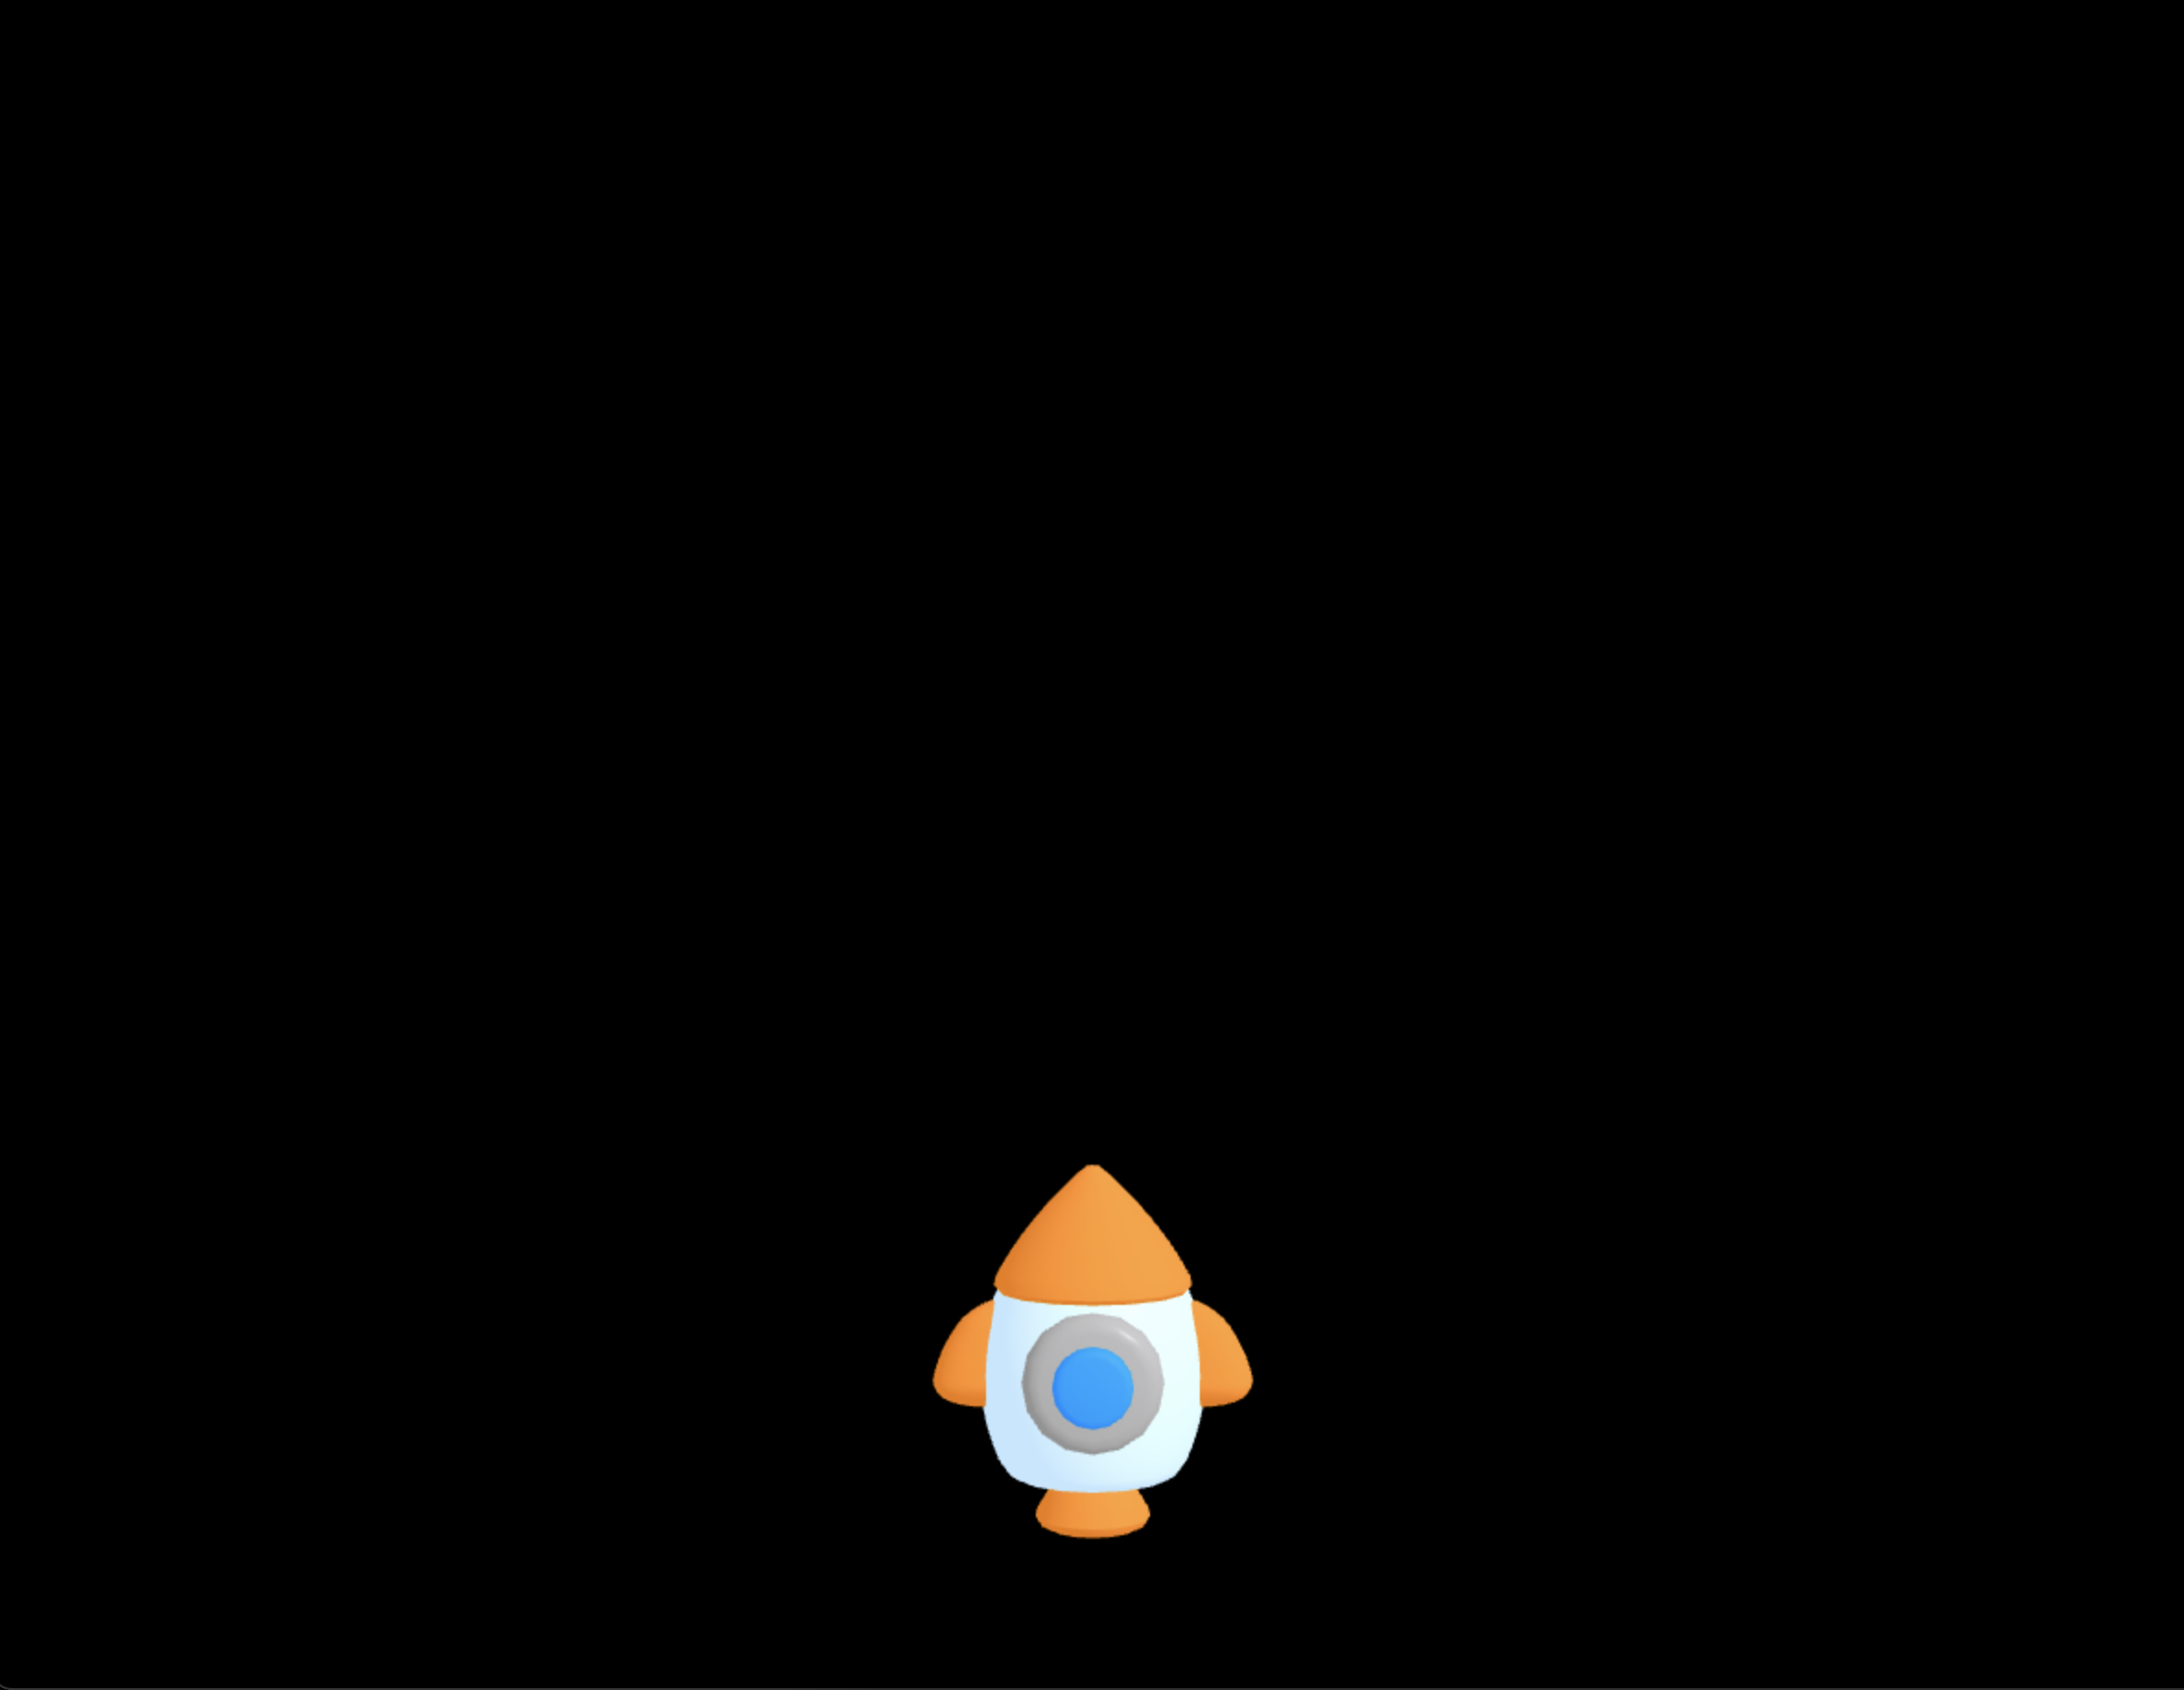
이번 포스팅은 Rocket Model 을 렌더링 한 시점부터 시작합니다.
// three.js
import {
    WebGLRenderer,
    Scene,
    PerspectiveCamera,

    Color,
    DirectionalLight,
} from 'three';
import {
    OrbitControls,
} from 'three/examples/jsm/controls/OrbitControls';
import {
    GLTFLoader,
} from 'three/examples/jsm/loaders/GLTFLoader';
// style
import './style.css';

/** @type { WebGLRenderer } */
let renderer;

/** @type { Scene } */
let scene;

/** @type { PerspectiveCamera } */
let camera;

/** @type { OrbitControls } */
let controls;

//
// core
//
function initCanvas() {
    const $canvas = document.createElement('canvas');
    $canvas.width = window.innerWidth;
    $canvas.height = window.innerHeight;

    const $app = document.querySelector('#app');
    $app.appendChild($canvas);

    return $canvas;
}

function initRenderer($canvas) {
    renderer = new WebGLRenderer({
        canvas: $canvas,
        antialias: true,
    });

    renderer.shadowMap.enabled = true;
}

function initScene() {
    scene = new Scene();
}

function initCamera() {
    camera = new PerspectiveCamera();
    camera.fov = 35;
    camera.aspect = window.innerWidth / window.innerHeight;
    camera.position.set(0, 0, 30);

    camera.updateProjectionMatrix();
}

function initControls($target) {
    controls = new OrbitControls(camera, $target);
    controls.enableDamping = true;
}

//
// light
//
function initDirectionalLight() {
    const color = new Color('#fff');

    const light = new DirectionalLight(color, 1);
    light.castShadow = true;
    light.shadow.mapSize.set(2048, 2048);
    light.shadow.radius = 8;
    light.position.set(10, 10, 10);
    light.lookAt(0, 0, 0);

    scene.add(light);
}

//
// model
//
function initRocketModel() {
    const loader = new GLTFLoader();

    loader.load('/gltf/rocket.glb', gltf => {
        gltf.scene.position.set(0, -5, 5);
        gltf.scene.traverse(child => {
            if (!child.isMesh) {
                return;
            }

            child.castShadow = true;
            child.receiveShadow = true;
            child.material.metalness = 0;
        });

        scene.add(gltf.scene);
    });
}

//
// executor
//
function render() {
    window.requestAnimationFrame(render);

    renderer.render(scene, camera);
    controls.update();
}

(function init() {
    const $canvas = initCanvas();

    initRenderer($canvas);
    initScene();
    initCamera();
    initControls($canvas);

    initDirectionalLight();

    initRocketModel();

    render();
}());
첫번째 방법: Model 을 직접 변형하여 Animation 효과 구현하기
GLTFLoader 를 사용하여 Model 을 불러옵니다.
불러온 Model 의 position, roation, scale 을 변경하는 함수를 만들고, 매 Frame 을 렌더링할 때마다 update 시켜줍니다.
아래 코드는 Model 의 rotation.y 의 좌표값을 변경하여, 로켓 Model 이 회전하는 Animation 을 구현합니다.
// three.js
import {
    WebGLRenderer,
    Scene,
    PerspectiveCamera,

    Color,
    DirectionalLight,

    Mesh,
} from 'three';
import {
    OrbitControls,
} from 'three/examples/jsm/controls/OrbitControls';
import {
    GLTFLoader,
} from 'three/examples/jsm/loaders/GLTFLoader';
// style
import './style.css';

/** @type { WebGLRenderer } */
let renderer;

/** @type { Scene } */
let scene;

/** @type { PerspectiveCamera } */
let camera;

/** @type { OrbitControls } */
let controls;

/** @type { Mesh } */
let rocketModel;//
// model
//
function initRocketModel() {
const loader = new GLTFLoader();
loader.load('/gltf/rocket.glb', gltf => {
rocketModel = gltf.scene;
gltf.scene.position.set(0, -5, 5);
gltf.scene.traverse(child => {
if (!child.isMesh) {
return;
}
child.castShadow = true;
child.receiveShadow = true;
child.material.metalness = 0;
});
scene.add(gltf.scene);
});
}
//
// animation
//
function animateRocket() {
if (!rocketModel) {
return;
}
rocketModel.rotation.y += 0.1;
}
//
// executor
//
function render() {
window.requestAnimationFrame(render);
renderer.render(scene, camera);
controls.update();
animateRocket();
}두번째 방법: 3D Model 의 Keyframe Animation 사용하기
첫번쨰 방법으로는 복잡한 Animation 을 구현하기 어렵습니다.
3D Tool 을 사용하여 Model 의 Keyframe Animation 을 만들 수 있으며, Model 이 가진 Animation 을 그대로 사용할 수 있으므로, 정교하고 자연스러운 Animation 을 연출할 수 있습니다.
GLTFLoader 를 사용하여 Model 을 불러오면, callback 을 통하여 gltf 객체에 접근할 수 있습니다.
gltf 객체에는 animations 속성이 Model 의 Keyframe Animation 을 가지고 있습니다.
gltf 객체의 animations 를 사용하기 위해 THREE.AnimationMixer 객체를 생성합니다.
아래는 THREE.AnimationMixer 를 사용하여 Animation 을 적용한 코드 입니다.
// three.js
import {
    WebGLRenderer,
    Scene,
    PerspectiveCamera,

    Color,
    DirectionalLight,

    Mesh,

    AnimationMixer,
} from 'three';
import {
    OrbitControls,
} from 'three/examples/jsm/controls/OrbitControls';
import {
    GLTFLoader,
} from 'three/examples/jsm/loaders/GLTFLoader';
// style
import './style.css';

/** @type { WebGLRenderer } */
let renderer;

/** @type { Scene } */
let scene;

/** @type { PerspectiveCamera } */
let camera;

/** @type { OrbitControls } */
let controls;

/** @type { Mesh } */
let rocketModel;

/** @type { AnimationMixer } */
let animationMixer;//
// model
//
function initRocketModel() {
const loader = new GLTFLoader();
loader.load('/gltf/rocket.glb', gltf => {
rocketModel = gltf.scene;
animationMixer = new AnimationMixer(rocketModel);
gltf.animations.forEach(clip => {
animationMixer.clipAction(clip).play();
});
gltf.scene.position.set(0, -5, 5);
gltf.scene.traverse(child => {
if (!child.isMesh) {
return;
}
child.castShadow = true;
child.receiveShadow = true;
child.material.metalness = 0;
});
scene.add(gltf.scene);
});
}
//
// animation
//
function animateRocket() {
// if (!rocketModel) {
// return;
// }
// rocketModel.rotation.y += 0.1;
if (!animationMixer) {
return;
}
animationMixer.update(1 / 60);
}위 코드를 살펴 보겠습니다.
먼저 AnimationMixer 타입 변수를 선언하고 있습니다.
이는 AnimationMixer 인스턴스를 생성하는 곳과 사용하는 scope 가 달라서 global 변수로 선언합니다.
그리고 GLTFLoader 를 사용하여 gltf 파일을 로드하게 되면, AnimationMixer 인스턴스를 생성합니다.
여기서 중요한 점은 gltf.animations 의 구성요소인 animationClip 객체를 AnimationMixer 에 모두 등록(clipAction()) 해주고 play() 시켜주는 것 입니다.
이렇게 등록하게 되면, Frame 을 그릴때 마다 호출하는 animate() 함수 내부에서 AnimationMixer 의 update(프레임_증감_값) 으로 다음 Frame 을 그리게 됩니다.
결과적으로 AnimationMixer 에 등록한 Model 의 animations 속성을 렌더링하여, Animation 효과가 연출됩니다.
추가: gltf.animations 구성
AnimationClip타입:gltf.animations를 구성하는 객체 타입
추가: AnimationClip 구성
duration: Animation 의 길이(초단위 시간값)tracks: Animation 을 구성하는 변화 데이터VectorKeyframeTrack타입 객체: Model 의 위치를 변경하는 TrackQuaternionKeyframeTrack타입 객체: Model 을 회전시키는 Tracktracks하위의 타입은 Three.js 에서 변경하기 보다, 어떤 효과로 구성된 Animation 인지 파악하는 정도로만 사용하면 될 것 같습니다.
마치며
원하는 Animation 을 구현하기 위해서는 3D Tool 사용방법도 익혀야 할 것 같습니다.
Model 의 Animation 을 코드로 구현하는 것은 원하는 결과를 얻기에는 쉽지 않을 것으로 생각되었습니다.